Publishing an Integration to the Hub
With the announcement of CloudQuery Hub, we are excited to see the community contribute integrations to the Hub. This guide will walk you through the process of publishing an integration to the Hub.
Prerequisites
- You have created a CloudQuery Cloud account and completed the onboarding process to create a team
- You have the CloudQuery CLI installed (version >=
v5.0.0) - The integration you’d like to publish is written in one of the following:
- Go with SDK version >=
v4.17.1 - Python with SDK version >=
v0.1.12 - JavaScript with SDK version >=
v0.1.0
- Go with SDK version >=
- The integration you’d like to publish is initialized using the integration’s name, team and kind. See example here
- You are authenticated to CloudQuery Cloud using the
cloudquery logincommand
Create an Integration Definition on Hub
Before publishing an integration, you need to create an integration definition on the CloudQuery Cloud site.
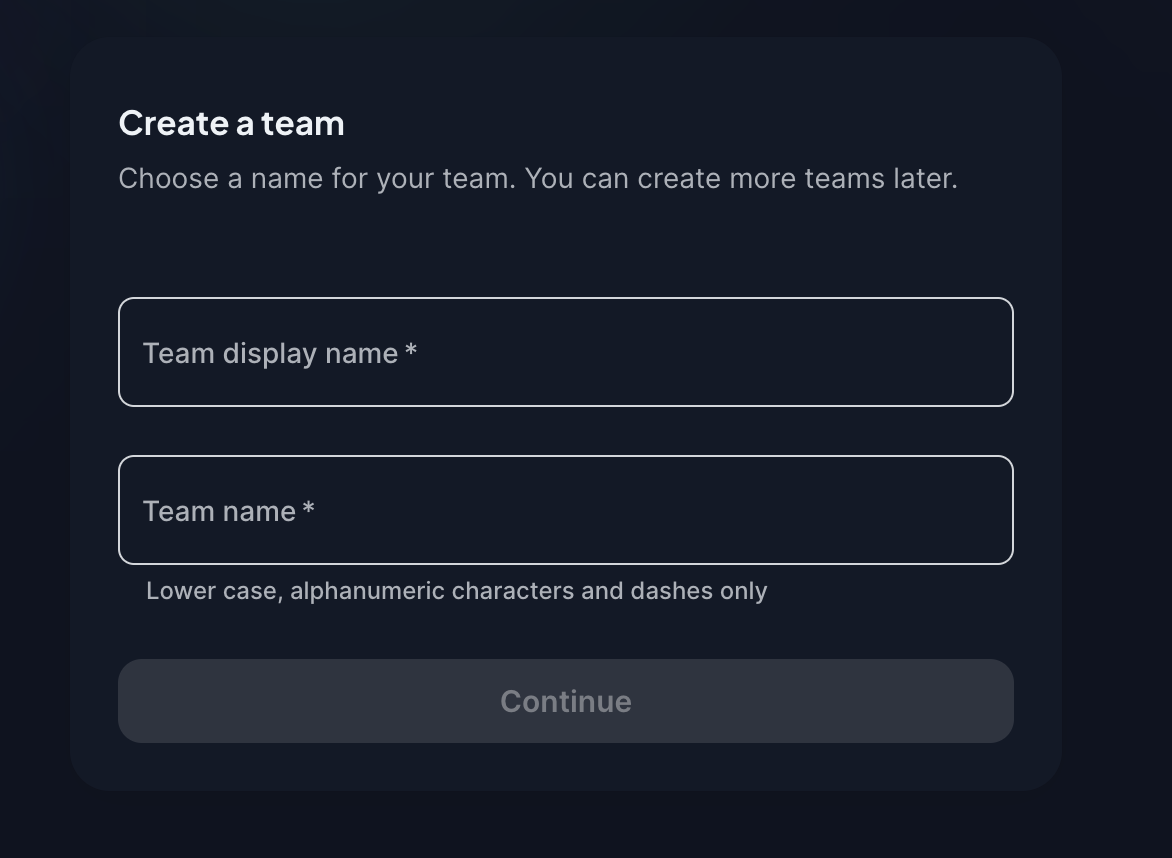
Log in to CloudQuery Cloud. If you have not created a team yet, you will be asked to create a new one.

The display name will be visible on Hub next to your integration. The team name is going to be used in configurations to reference your integration using <team-name>/<high-level architecture-name>.
To create a new integration definition, create a new integration from the Integrations tab. Fill in the necessary details and upload the integration image.
Staging Releases
Release your integrations for internal testing first before making it public. Set the Visibility to Private and Release Stage to Preview. This enables testing of premium integrations without being charged and with your team only (you can invite other users to your team to test the integration).
When you want to release the integration in public, set the Visibility to Public and eventually, change the Release Stage to GA (Generally Available) to begin charging for the usage.
Publishing an Integration
To publish a plugin to the Hub, follow the steps below depending on the language you are using.
- (Optional, recommended) In the root directory of your integration repository run
git tag v1.0.0to tag the version you’re about to publish (replacev1.0.0with the version you’d like to publish). - (Optional, recommended) Run
git push origin v1.0.0to push the tag. - Run
go run main.go package --docs-dir docs -m 'feat: Initial release' v1.0.0 .to package the integration.v1.0.0should match the tag you created in step 1. The-mspecifies the changelog message that will be used in the release notes and it supports markdown. See example here.docsshould be a directory containing markdown files that serve as documentation for the integration. Read more about the documentation format here. - Run
cloudquery loginto authenticate your CLI with CloudQuery. - Run
cloudquery plugin publishto publish a draft version of the integration. The version will show up under the versions tab of your integration in CloudQuery Cloud. As long as the version is in draft it’s mutable and you can re-package the integration and publish it again. - Once you’re ready run
cloudquery plugin publish -fto publish a finalized version of the integration. This version will be immutable and will show up in Hub if the integration is marked as public. Allow up to 1 hour for the Hub to reflect the changes.
Documentation Format
- The only documentation format supported at the moment is markdown, and the
cloudquery publishcommand will only upload markdown files with the.mdextension - You can have multiple markdown files as documentation. The files will be concatenated in alphabetical order, and if one of the files is named
overview.mdit will show up first - The markdown filename will be title cased when display in the Hub. For example
overview.mdwill be displayed asOverview - HTML tags are not supported in the markdown files and will be ignored
- Relative assets (e.g.
./assets/logo.png) are not supported. We recommend using absolute URLs for assets e.g.https://raw.githubusercontent.com/<owner>/<repo>/main/assets/logo.pngin case you have the assets on GitHub